Skip to content
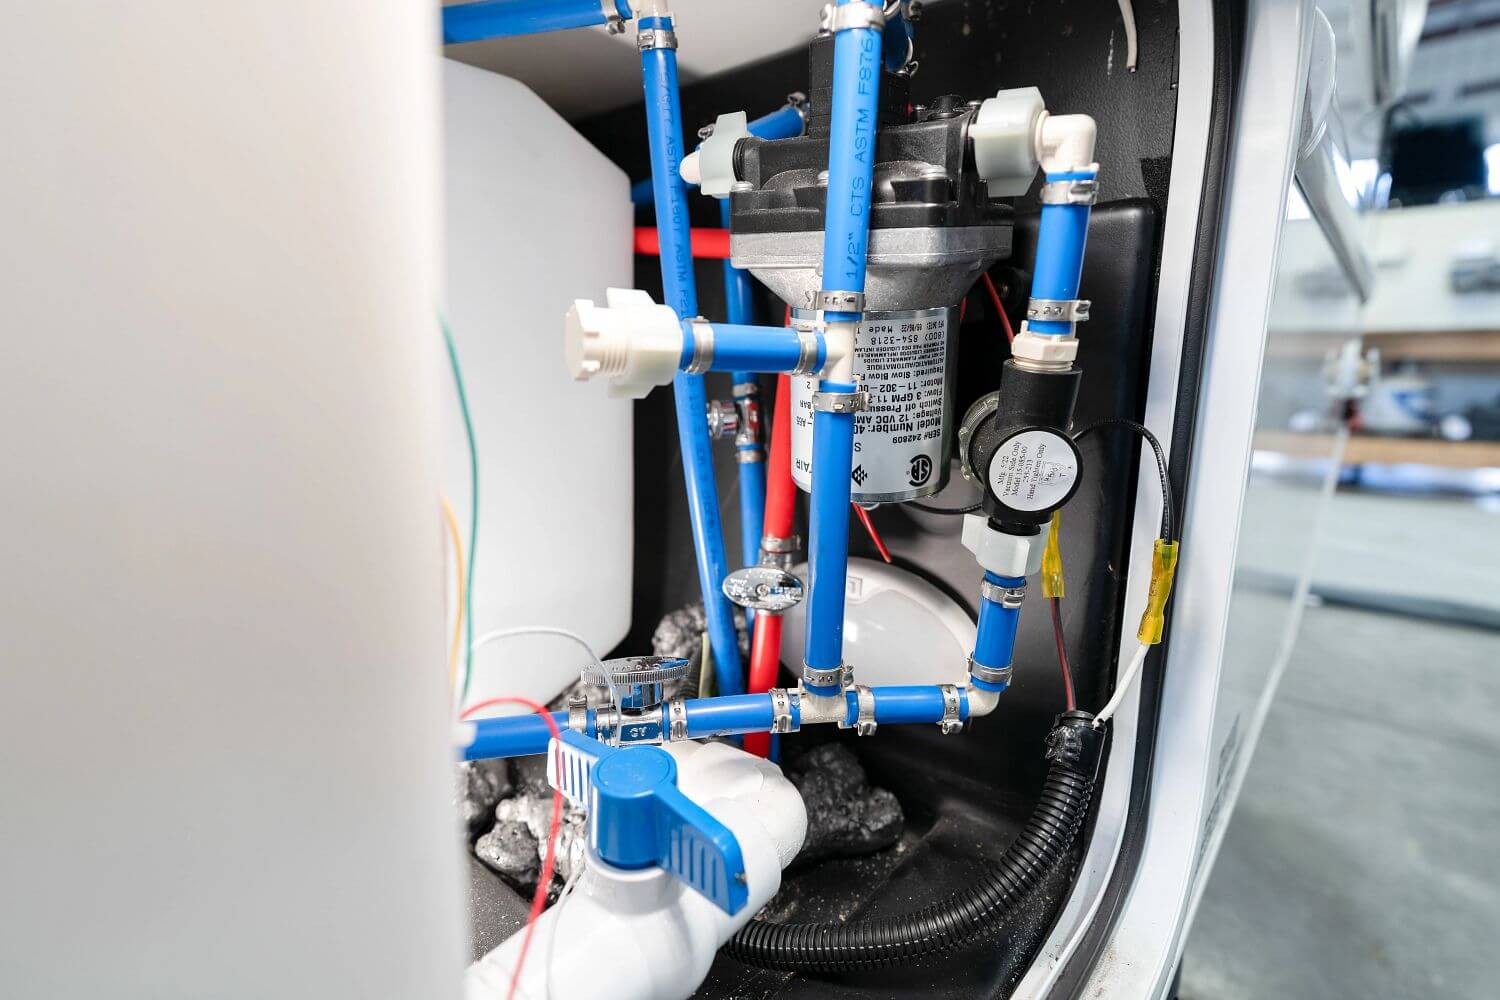
As the seasons change and temperatures begin to drop, winterizing your RV plumbing system becomes one of the most critical tasks for protecting your rig. Frozen water lines, cracked pipes, and burst tanks can cost hundreds or even thousands of dollars in repairs, not to mention the stress of ruined road plans.
Whether you’re storing your RV for the season or prepping for cold-weather travels, this step-by-step guide will help you prepare your RV’s plumbing system to handle freezing conditions without issue. With a few simple tools and a little time, you can save yourself major RV headaches come spring.
Why Winterizing Your RV Plumbing System Matters
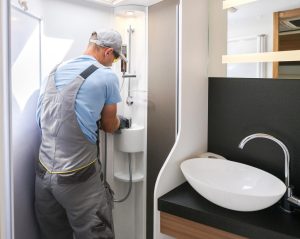
Water expands when it freezes, and if water is left in your RV plumbing system, it can wreak havoc. Frozen pipes may burst, water lines can split, and fittings can fail, leaving you with costly repairs. This is especially true in older RVs or when minor plumbing leaks go unnoticed. To prevent these issues and ensure your system is ready year-round, consider professional RV plumbing services in Sarasota, FL.
While some RVers in warm climates might skip this task, anyone traveling or storing an RV in cold temperatures should winterize to prevent serious damage.
Tools You’ll Need
Before you begin, gather the following items:
- Non-toxic RV antifreeze (NOT automotive)
- A water heater bypass kit (if not already installed)
- Tank flushing wand or black tank rinse system
- Air compressor with a blowout plug (optional but useful)
- Basic hand tools (wrenches, screwdrivers)
- Freshwater tank and line sanitizer (optional for spring)
Step-by-Step Guide to Winterizing Your RV Plumbing
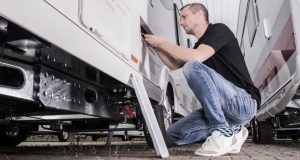
1. Drain the Freshwater and Waste Tanks
Start by draining your freshwater tank, gray tank, and black tank completely. Use a flushing wand or tank rinse system to clean out any remaining waste, especially in the black tank. Leaving waste behind can lead to odors and buildup over the winter months.
2. Empty the Water Heater
Turn off the water heater and let it cool. Open the drain plug or anode rod (depending on the model) to fully empty the tank. Open the pressure relief valve to help drain faster.
Tip: Never add antifreeze directly into the water heater. This is where a bypass kit comes in handy.
3. Bypass the Water Heater
Most RVs come with a water heater bypass kit installed. If yours doesn’t, it’s a smart investment. This reroutes the antifreeze around the water heater, saving you gallons of antifreeze and preventing contamination.
4. Blow Out the Water Lines (Optional)
Use an air compressor and blowout plug to push water out of the lines. Connect the plug to your city water inlet and gently blow air through the system, opening each faucet one at a time (hot and cold) until only air comes out.
Note: Keep the pressure under 50 PSI to avoid damaging fittings.
5. Pump RV Antifreeze into the System
Now it’s time to introduce non-toxic RV antifreeze into your RV plumbing system. You can do this in one of two ways:
- Use the RV’s internal water pump with a winterizing siphon hose
- Use an external hand pump connected to the city water inlet
Open each faucet (hot and cold), showerhead, outdoor shower, toilet, and low-point drains one at a time until pink antifreeze comes out. Don’t forget the ice maker, washing machine, and water filter systems if your RV has them.
6. Pour Antifreeze into Drain Traps
Pour a small amount of RV antifreeze into all sink and shower drains to protect the P-traps, and add some to the toilet bowl.
RV Plumbing Tips from the Pros
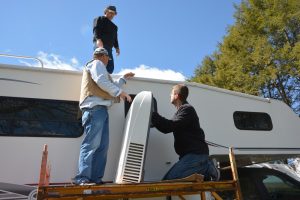
At RV Shield, we’ve seen what happens when RV owners skip winterization: cracked tanks, leaking pipes, and avoidable repairs. As a trusted RV maintenance company, we recommend winterizing even in borderline climates like the southern states. It only takes a single cold snap to cause thousands in damage.
If you’re not comfortable winterizing your system yourself, consider hiring a professional. There are excellent RV plumbing services in Sarasota, FL and other regional hubs that can take care of it quickly and safely.
Don’t Forget Spring De-Winterization
When spring arrives, reverse the process:
- Drain the antifreeze
- Sanitize your freshwater system
- Check for leaks or system damage
- Reconnect water filters or inline components
A little effort now ensures your RV plumbing is ready to perform when you hit the road again.
FAQs
1. Can I use regular antifreeze to winterize my RV plumbing?
No. Always use non-toxic RV antifreeze. Automotive antifreeze is toxic and not safe for potable water systems.
2. Is it necessary to blow out the lines if I use antifreeze?
Blowing out the lines is optional but provides extra protection. Many RVers use both methods for peace of mind.
3. How much antifreeze do I need to winterize my RV?
Most RVs require 2 to 3 gallons of RV antifreeze. Larger units with multiple bathrooms or appliances may need more.
4. Can I winterize my RV without a water heater bypass?
Technically, yes, but you’ll waste a lot of antifreeze filling the water heater. A bypass is recommended to save time and money.
5. Do RV maintenance companies offer winterization services?
Yes. Many RV maintenance companies offer affordable winterization packages, especially in colder regions or during fall. For example, if you’re in Florida, several RV plumbing services in Sarasota, FL offer seasonal winterizing help.
Final Thoughts
Properly winterizing your RV plumbing system is essential for protecting your RV investment during the off-season. Whether you choose to DIY or hire a professional, following these steps will help you avoid burst pipes, expensive repairs, and a whole lot of stress.
At RV Shield, we specialize in helping RV owners take care of their rigs year-round. If you’re not sure how to prepare for winter or need professional help, reach out to a trusted RV maintenance company or explore RV plumbing services in Sarasota, FL for reliable support.
Your next road adventure will be much smoother if your plumbing system is ready to roll when the ice melts.