Skip to content
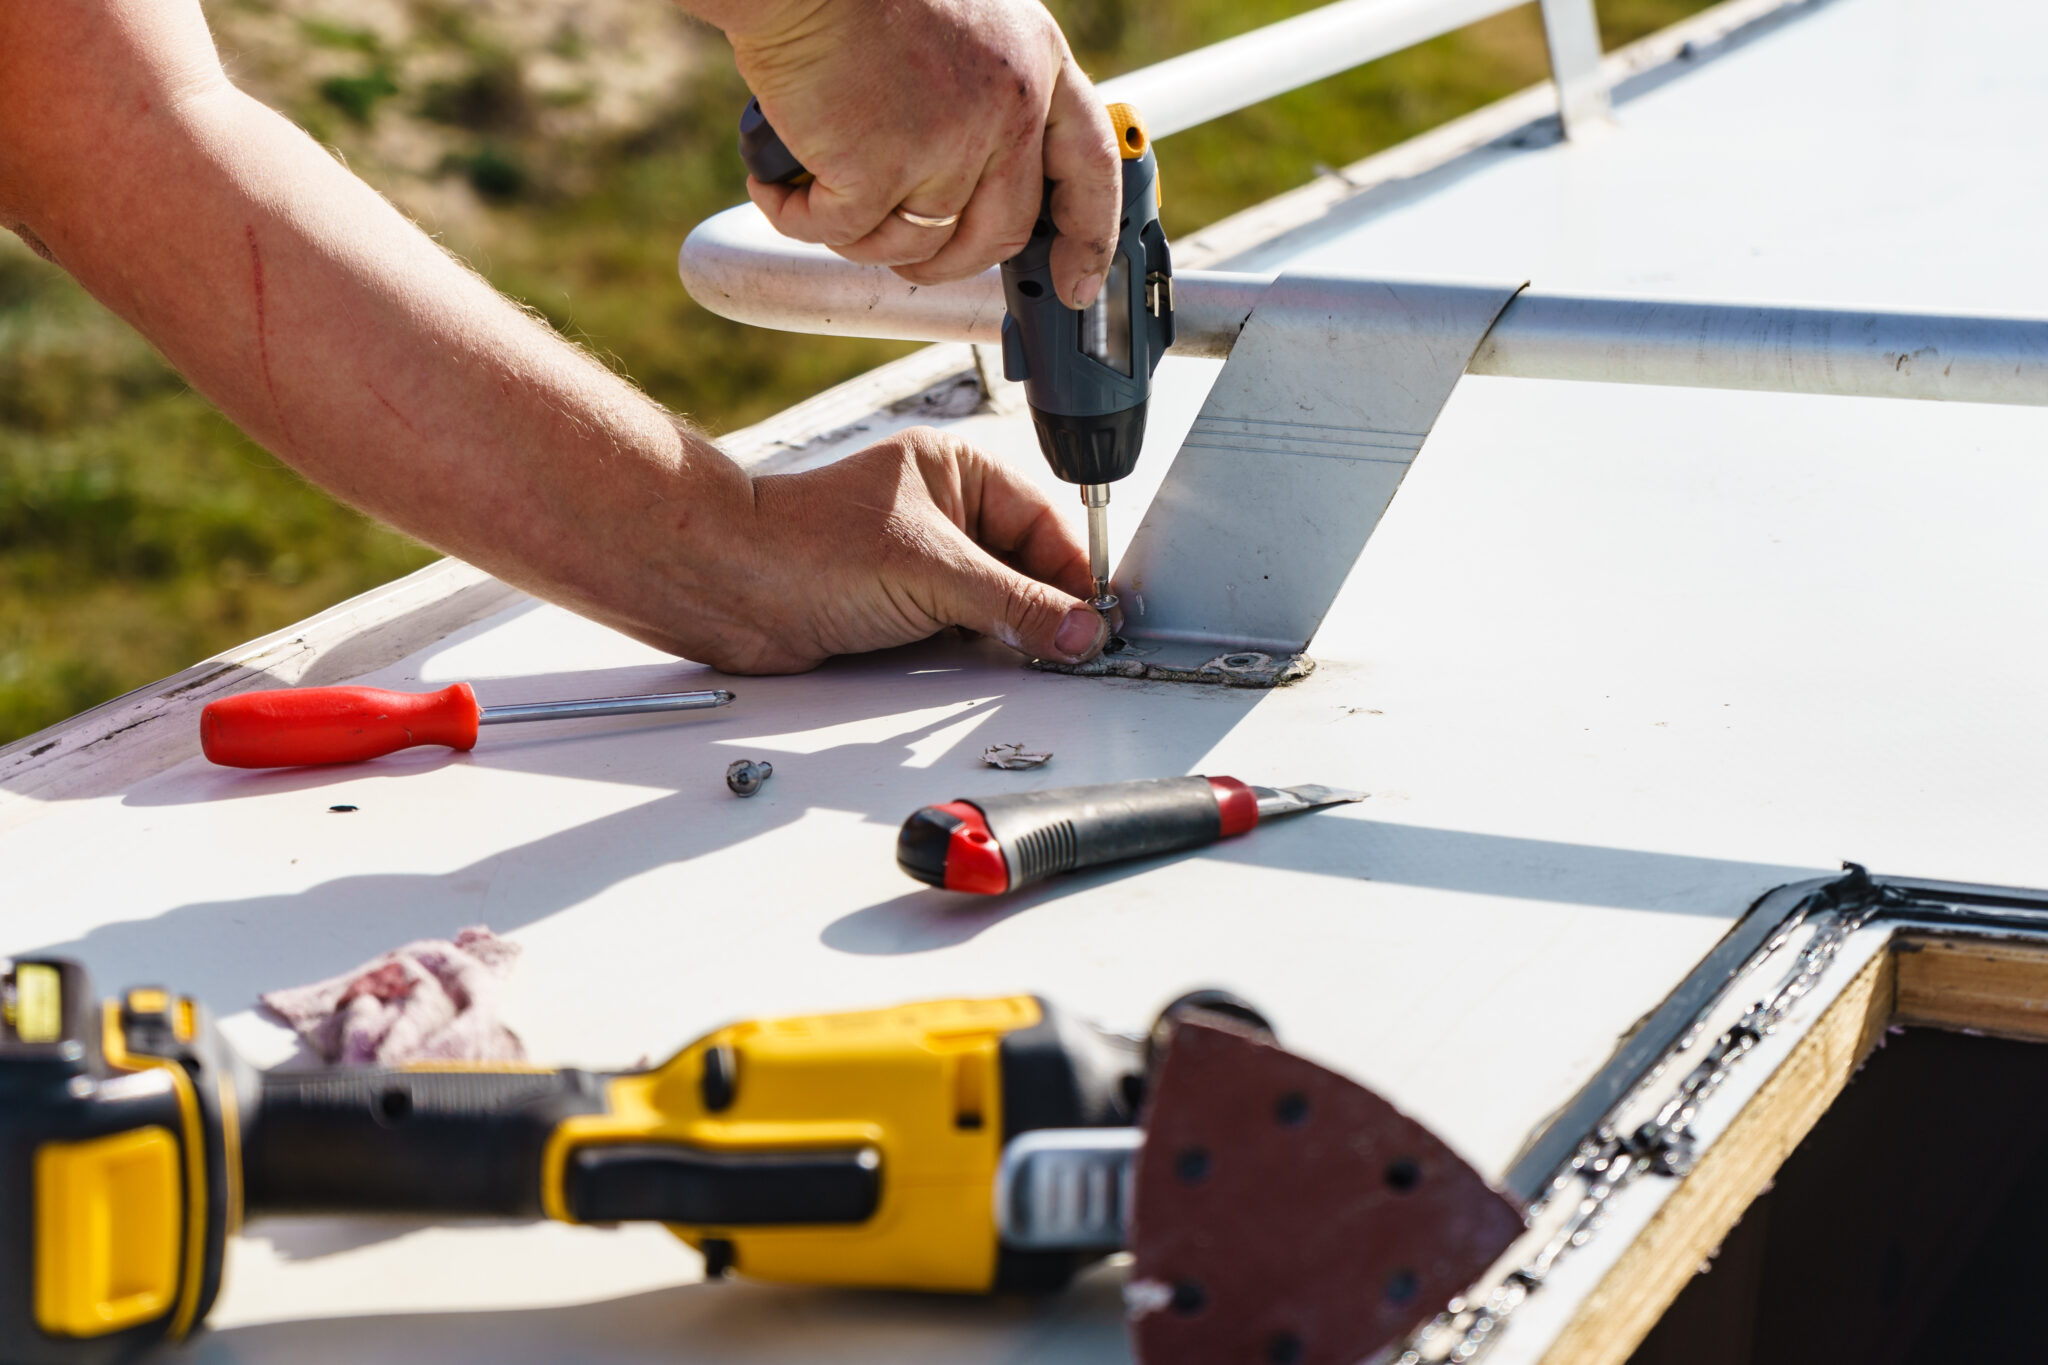
Your RV roof takes a beating from sun, rain, wind, and debris all put it to the test every mile you drive. Left unchecked, even a small crack or worn seal can turn into costly interior damage. That’s why RV roof repair should be at the top of your regular maintenance checklist.
In this ultimate guide, we’ll walk you through how to inspect, maintain, and repair your RV roof before minor issues become major headaches. Whether you’re a full-time RVer or a seasonal road tripper, this guide will help you protect your home on wheels.
Why RV Roof Maintenance Matters
Ignoring your RV’s roof is one of the most expensive mistakes you can make as an RV owner. A roof leak doesn’t just affect the outer shell, it can lead to rotted wood, mold, ruined insulation, and even electrical problems inside your rig.
By prioritizing recreational vehicle roof repair and routine inspections, you’re saving money and extending the life of your RV. Most roof issues are preventable if caught early, and the fix is often much cheaper than you’d expect.
How to Spot Early Signs of Roof Damage
Early detection is key to avoiding major repairs. Here’s what to look for during your monthly RV inspection:
- Discoloration or bubbling on the ceiling (a sign of water damage)
- Soft spots when walking on the roof
- Cracks or peeling in sealant or caulking
- Lose or missing screws around roof fixtures
- Black streaks or mold near seams or corners
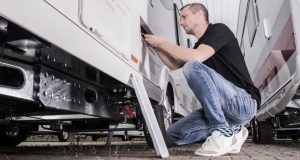
If you’re not confident doing these checks yourself, consider hiring RV roof repair services in Sarasota, FL or your local area to handle a full roof inspection.
Types of RV Roof Materials (And How to Care for Each)
Knowing what type of roof your RV has will help you choose the correct materials and maintenance methods:
1. EPDM (Rubber Roofs)
Common in many RVs, EPDM roofs are durable but can be punctured easily. Use specialized rubber sealant and avoid petroleum-based cleaners.
2. TPO (Thermoplastic Roofs)
TPO roofs are UV-resistant and energy-efficient. They require less maintenance but need specific sealants for repairs.
3. Fiberglass Roofs
Stronger and more rigid than rubber, fiberglass roofs are less prone to tears but can crack over time. Use fiberglass patches or gel coats for repairs.
4. Aluminum Roofs
Rare but long-lasting. Aluminum roofs are resistant to UV and water damage but may require resealing at seams and rivets.
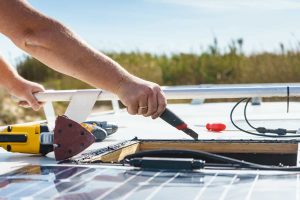
DIY RV Roof Repair: Step-by-Step Process
Small leaks and cracks can often be fixed with a few tools and products. Here’s how to tackle a basic repair job:
Step 1: Clean the Roof
Remove all dirt and debris using an RV-safe cleaner. Let it dry completely before proceeding.
Step 2: Locate the Damage
Check around seams, vents, skylights, and AC units. These are the most common trouble spots.
Step 3: Apply Sealant or Patch
For small cracks or worn areas, use a self-leveling sealant. For larger holes, apply a patch kit compatible with your roof type.
Step 4: Let It Cure
Follow the manufacturer’s instructions for curing time before exposing the roof to water or sun.
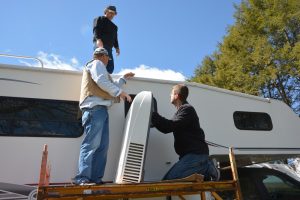
When to Call the Pros
While many minor issues can be handled at home, there are times when it’s best to hire professionals. If you notice extensive water damage, sagging roof sections, or you’re not comfortable working on a roof, it’s time to bring in professional RV roof repair specialists.
Those located in Florida, for example, can benefit from RV roof repair services in Sarasota, FL, where technicians are familiar with sun and salt damage common in coastal regions.
RV Roof Repair Costs: What to Expect
Prices can vary widely depending on the scope of the repair and roof type:
- Minor sealant touch-ups: $50 – $200
- Patching or partial resealing: $300 – $700
- Full roof replacement: $4,000 – $10,000+
Regular maintenance and quick action when issues arise can save you thousands in long-term costs.
Preventative Maintenance Tips
To avoid major repairs, follow these tips regularly:
- Inspect the roof every 30 to 60 days
- Re-seal seams and edges annually
- Wash the roof with a UV-protective cleaner
- Keep branches and sharp debris off the roof
- Store your RV under cover or use a roof protector
Prevention is the most affordable form of camper roof repair, a little effort now saves a lot of trouble later.
FAQs
1. How often should I inspect my RV roof?
At least once a month, and before and after long trips. Regular inspections help catch problems early.
2. Can I walk on my RV roof to inspect or repair it?
It depends on the RV. Check your manual, but many modern RVs are built to handle foot traffic in the center. Always tread carefully.
3. What sealant should I use for rubber RV roofs?
Use a Dicor self-leveling lap sealant or another product specifically designed for EPDM or TPO rubber roofs.
4. How long does a typical RV roof last?
With proper care, an RV roof can last 10–20 years. Regular maintenance extends its life significantly.
5. Is RV roof damage covered by insurance?
It depends on your policy. Accidental damage may be covered, but wear-and-tear or neglect typically isn’t. Check with your insurer.
Final Thoughts
RV roof repair doesn’t have to be intimidating or expensive. With the right knowledge, a little effort, and timely inspections, you can stop leaks before they start and keep your rig in road-ready condition.
At RV Shield, we specialize in helping RV owners protect their investment with expert guidance, high-quality materials, and reliable solutions. Whether you’re handling small repairs yourself or need trusted professionals for bigger jobs, our goal is to make RV roof care easy and stress-free.